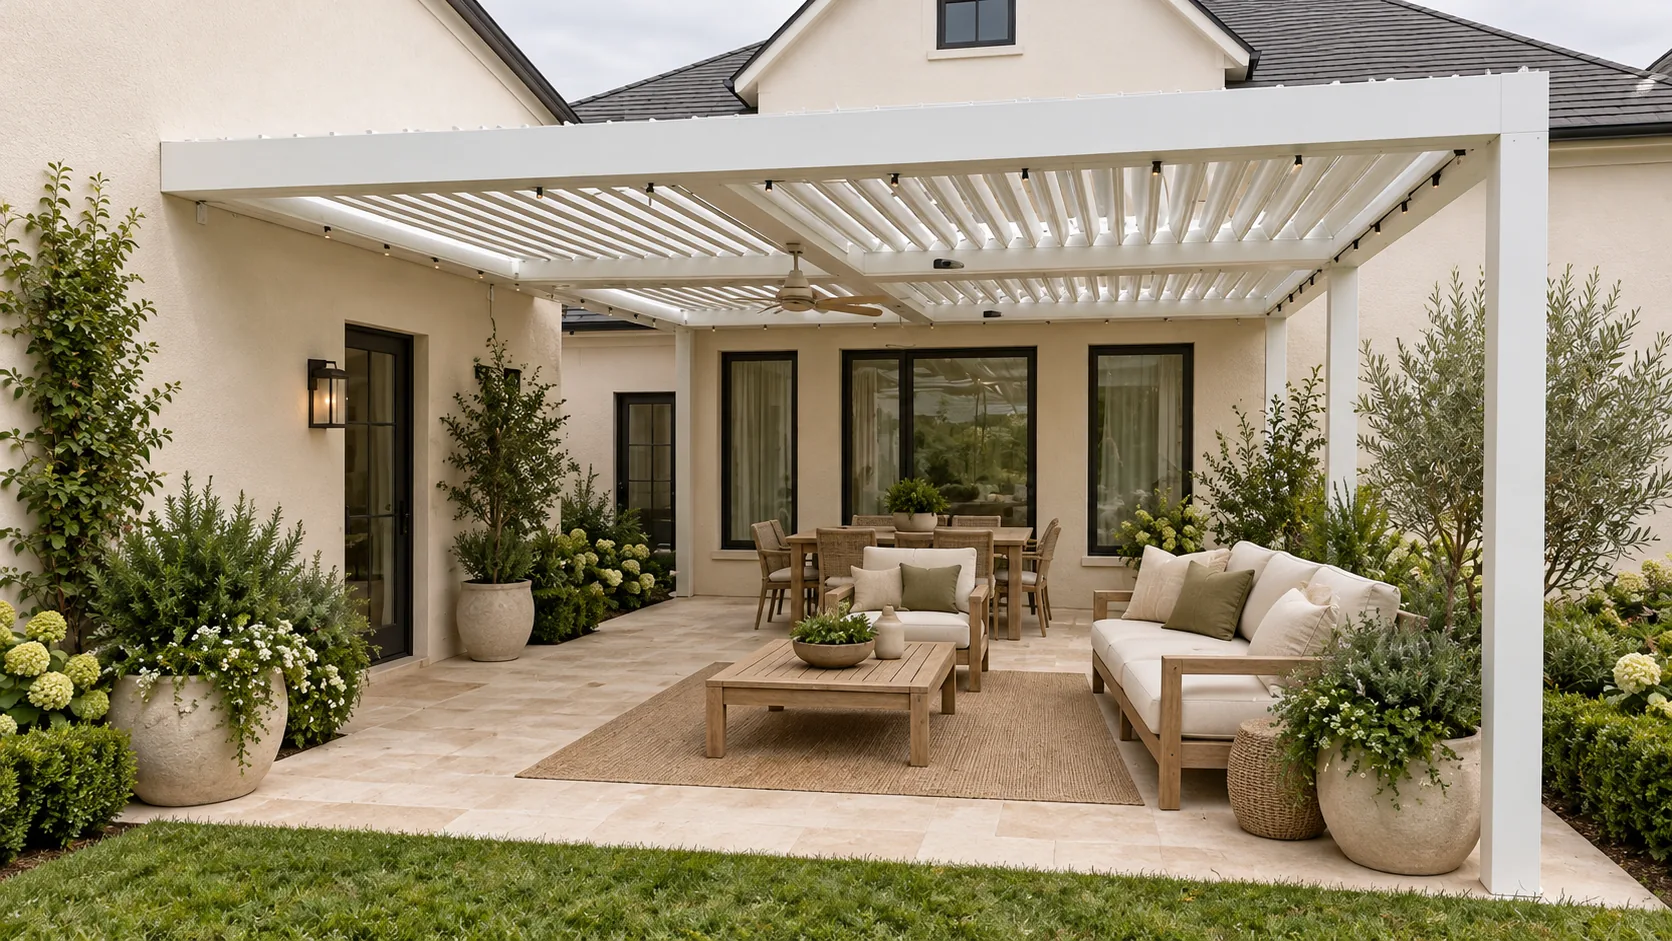
Before installing a louvered pergola, confirm the final setting-out dimensions, suitable foundations or wall structure, drainage discharge, electrical supply, finished levels, lifting access, temporary storage and local approval responsibilities. The approved project drawing must match the actual site, not an early sales sketch.
Checks before final order approval
- Measure the site at finished level and record slopes or height changes.
- Confirm every post position and identify underground or concealed services.
- Verify that a proposed wall can accept the intended connection.
- Choose drainage outlets and confirm where water can discharge.
- Record voltage, cable route, control location and electrician scope.
- Review doors, windows, shutters, steps, pools and access routes.
Responsibility matrix
| Item | Factory information | Local project responsibility |
|---|---|---|
| Product layout | Module and component drawing | Confirm fit against measured site |
| Foundations | Post layout and interface information | Design and approve for local ground and loads |
| Wall mounting | Connection concept and required position | Verify wall capacity, waterproofing and fixing method |
| Drainage | Integrated gutter and post routing arrangement | Connect discharge and manage site drainage |
| Electrical | Motor and control information | Compliant supply, isolation, wiring and commissioning |
| Permits | Available product documents | Local authority, engineering and installation compliance |
How does the roof type affect installation preparation?
Confirm the roof movement before approving post positions, wiring routes or nearby accessories. JY180, JY220 and JY250 use motorized rotating louvers; JY280 uses a retractable folding roof. Their movement and clearance requirements should be checked against the drawing for the selected system.
- Rotating louvers: confirm blade direction and the operating clearance shown in the approved layout. Check nearby lights, walls and other fittings against that movement.
- Retractable folding roof: confirm retraction direction, folded-panel location and service access before fixing adjacent accessories.
- Both systems: coordinate supports, finished levels, drainage outlets and electrical connections with the responsible local installer.
Review the motorized rotating-louver systems or the JY280 retractable roof before preparing the installation brief. Model dimensions alone do not approve the site structure or foundation.
Prepare for delivery and handling
Confirm vehicle access, unloading method, lifting equipment and a flat protected storage area. Long profiles should not be dragged or left unsupported. Keep module labels visible and hardware grouped. Do not discard packaging until package counts and visible condition have been recorded.
Installation-day controls
- Use the latest approved drawing and verify its revision.
- Set out reference lines, diagonals and finished heights.
- Check anchors and supporting construction before loading the structure.
- Protect powder-coated surfaces during assembly.
- Keep drainage paths clear and test them before closing access.
- Use qualified local electrical personnel for the supply and controls.
- Test movement and clearances before fitting all enclosures.
Questions to agree with your pergola installer
Does a factory quotation include local installation?
Confirm the scope in writing. Factory supply, freight, unloading, foundations, assembly, electrical connections and local approvals are separate items to check. Do not assume that a pergola supply quotation includes an installed project.
Can installation start from a 3D design or preliminary sketch?
Use an approved project drawing that matches the measured site. A visual concept does not confirm supports, connections, clearances or local requirements. Resolve differences between the site and the drawing before assembly starts.
What should I send before requesting an installation-ready quotation?
Send the project location, measured dimensions, site photos, mounting preference and roof type. Mark restricted post positions, planned drainage and any screens or glass. Use the pergola RFQ checklist, then request a factory quotation with the local work clearly identified.
What support material can be available
JY Home Shade can provide project drawings, component identification and installation videos or media for confirmed orders. These materials support the installer but do not replace local engineering, site supervision, trade qualifications or safety procedures.
Foundations, wall capacity, lifting, electrical work and local compliance must be handled by qualified parties for the project location. Do not install against an unverified structure or changed site condition.
Technical review: JY Home Shade factory product team · Last reviewed: 27 August 2026
Send site photos before production
Mark the dimensions, walls, post restrictions and drainage points. We can review them against the proposed module layout.