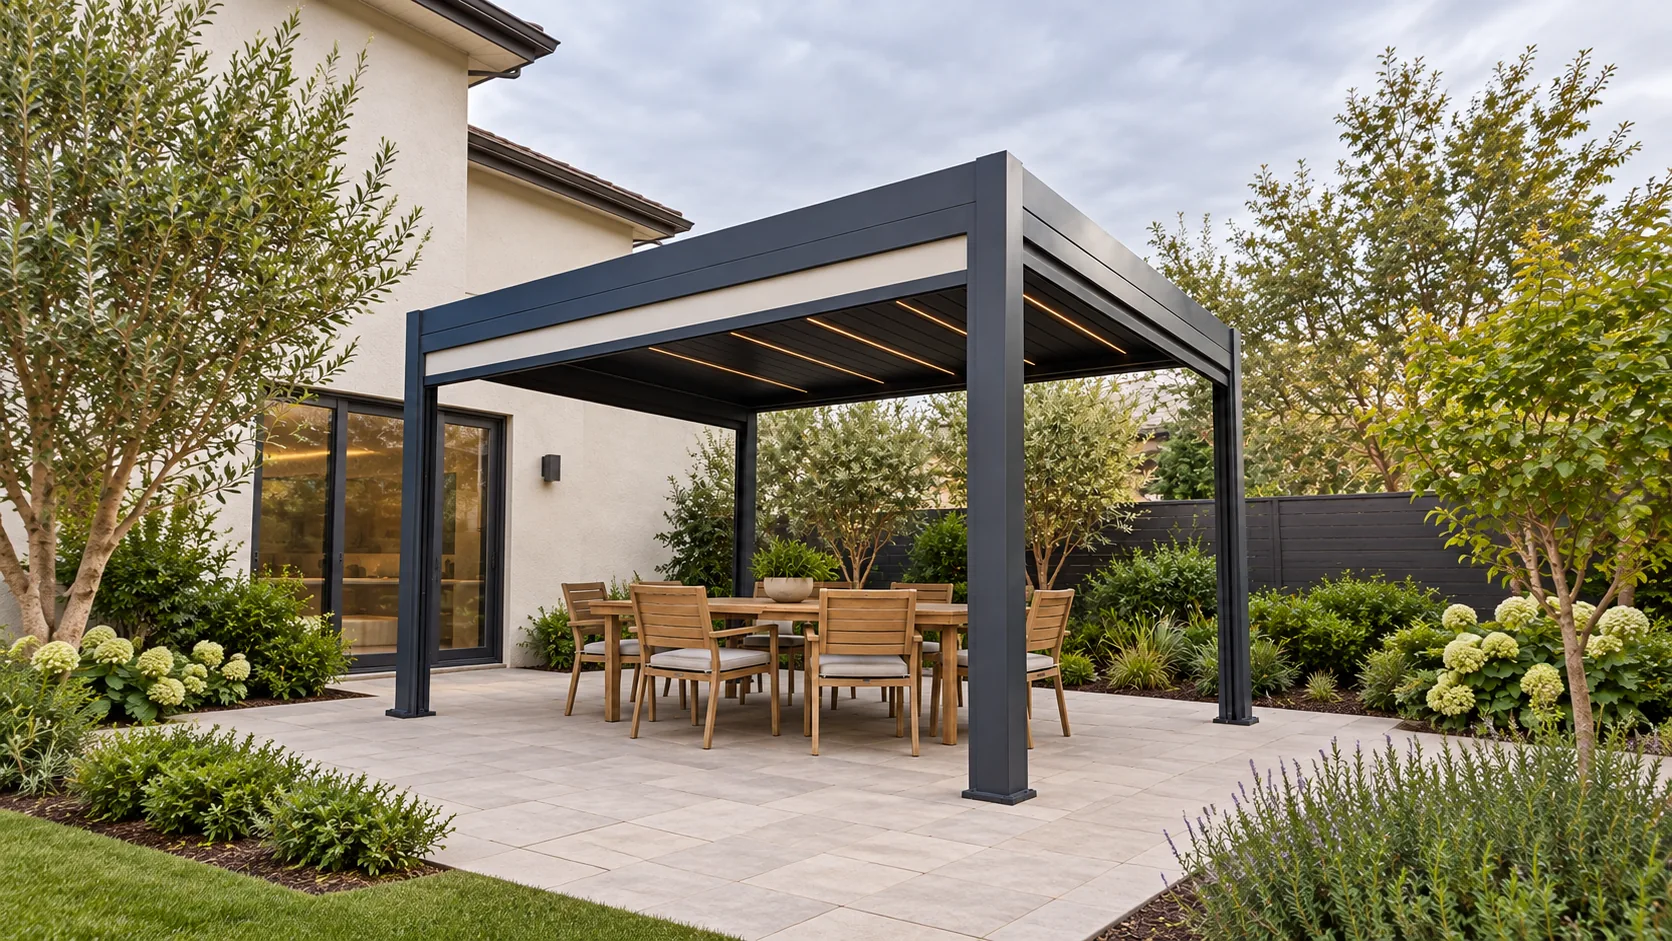
Bring the pergola layout into a landscaping or pool project before paving and services are finalized. Agree post positions, finished levels, drainage outlets, cable routes and installation access with the site team. Late decisions can require reopening finished work or moving the intended seating area.
Place the pergola on the shared site plan
Use the same plan for the pool, terrace, planting, furniture and pergola. Show structural post locations separately from the roof outline so everyone sees what occupies the ground. Mark doors, paths, plant rooms, drains and maintenance access that need to remain usable.
For pool projects, coordinate circulation and any applicable local barrier or access requirements with the responsible pool designer. A product rendering cannot establish those requirements. The pergola arrangement should not be approved in isolation from the wider site design.
Freeze the interfaces before surface finishes
Confirm finished floor levels and support zones while groundworks are still accessible. Ask the responsible local parties to approve foundations and service routes. Locate roof discharge points on the drainage plan instead of leaving water management until the frame has arrived.
Also reserve cable routes for the chosen motor, lighting and future accessories where appropriate. The electrical designer or installer should determine the applicable installation requirements. Photograph concealed work and retain the as-built record before it is covered.
Protect installation and future service access
Large packages and long profiles need a practical path from delivery to the installation location. A garden that was accessible during groundworks may become difficult to enter after fencing and planting. Review package information, unloading and handling before scheduling the final landscaping.
Plan access to roof mechanisms, gutters and accessory components after completion. Avoid details that make routine inspection dependent on removing permanent landscaping. Ask who protects the pool and finished surfaces during installation and who makes good any affected areas.
Use hold points to avoid trade conflicts
Agree a short sequence: coordinated layout, approved supports and services, delivery readiness, assembly, commissioning, then final handover. At each stage identify the person who confirms completion. This is more useful than assuming that a delivery date means the site is ready.
As an example, a pool lounge with lights and a privacy screen needs more than a frame dimension. Its post zones, screen opening, power route and drainage destination should all appear on the approved information. Confirm accessory compatibility before the paving team completes the relevant edge.
Before you commit
| Decision area | Information to confirm |
|---|---|
| Before excavation | Coordinate footprint, services and restricted zones. |
| Before paving | Approve supports, finished levels and discharge points. |
| Before dispatch | Confirm unloading route, storage and installation readiness. |
| Before handover | Commission the ordered system and retain records. |
| After completion | Keep service and drainage access available. |
Your next-step checklist
- Add post positions and roof outline to the landscape plan.
- Assign responsibility for supports, power, drainage and waterproofing.
- Check delivery access before installing final fences or planting.
- Keep concealed-work photos and final drawings for the owner.
Questions buyers ask
Should the pergola be ordered before the paving is finished?
Resolve the design and support interfaces before paving. Coordinate manufacture and installation dates with the actual site programme rather than using a fixed sequence for every project.
Can poolside exposure affect specification?
Yes. Describe the environment and nearby water treatment conditions to the supplier, and request suitable finish and maintenance guidance for the proposed site.
A message you can send us
We are coordinating a [pool/landscape] project in [location]. Paving is scheduled for [date]. Attached are the plan, levels, services and access route. Please identify pergola inputs needed before finishes are installed.
Attach available drawings or photographs and identify any details that are still undecided. We can use the brief to clarify the proposed product and the information needed for quotation.
Discuss your project or dealer plan
Send the brief above with your location and quantity.
Open the quotation form →