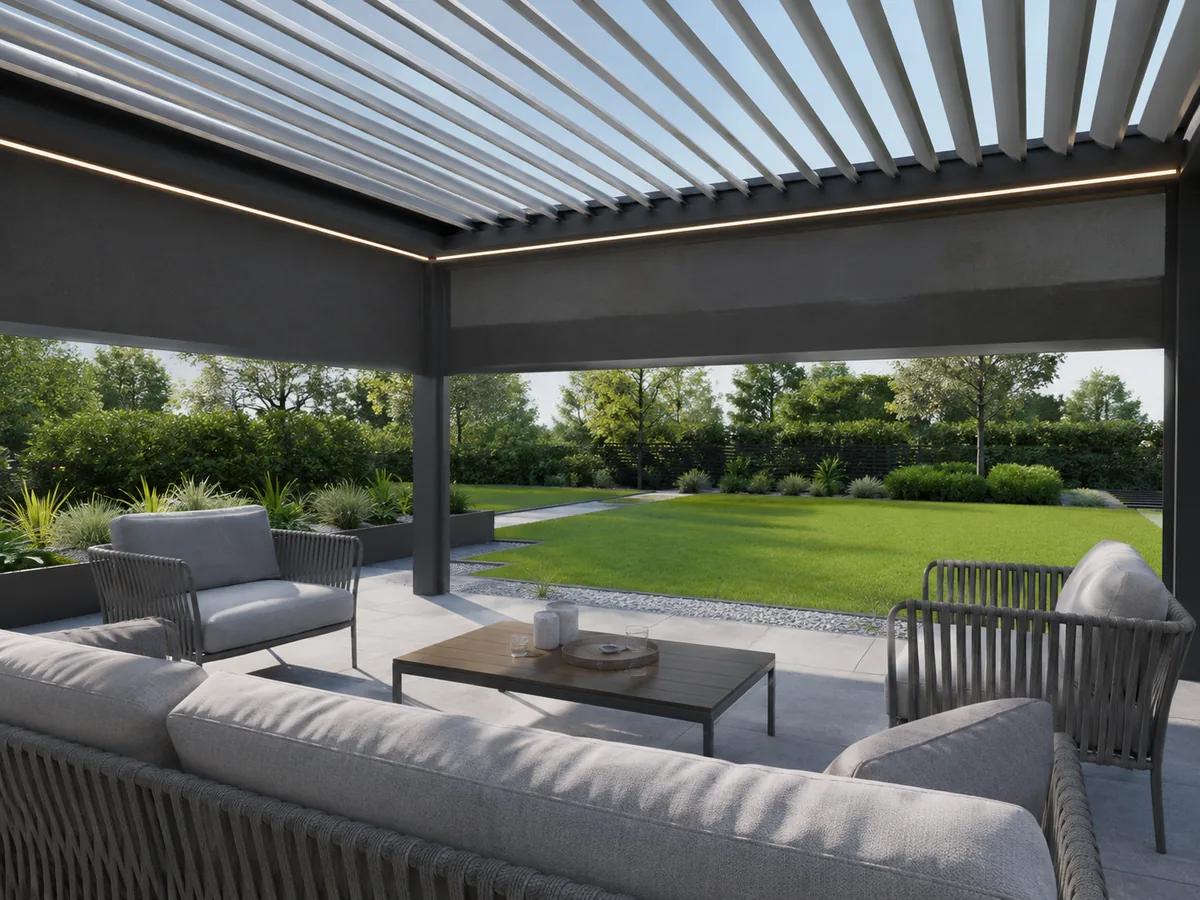
Plan pergola accessories by opening, not only by product name. For each side, record clear width, clear height, fixed obstructions, access needs and the required screen, glass or grille. Then coordinate motor locations, wiring, controls, drainage and mounting interfaces before production drawings are approved.
Accessory types and planning inputs
| Accessory | Primary purpose | Inputs to confirm |
|---|---|---|
| Windproof ZIP screen | Sun, wind and privacy control | Opening width and height, fabric, side, power and cassette position |
| Sliding or folding glass | Transparent weather enclosure | Track, panel stacking, threshold, drainage and door access |
| Louver wall / sliding grille | Ventilated privacy and shading | Panel direction, travel, fixed zones and opening clearance |
| Integrated LED | Architectural ambient lighting | Beam location, colour temperature, circuits and control method |
| Ceiling fan with light | Air movement and local light | Roof clearance, mounting point, power and blade operating space |
| Infrared heater | Targeted radiant comfort | Mounting height, clearances, electrical load and user position |
Correct coordination sequence
- Select the pergola model and divide the roof into modules.
- Number every side and opening on the plan.
- Assign each accessory to a specific opening or beam.
- Check tracks, cassettes, motors, brackets and stacking clearances.
- Coordinate power circuits, controls and cable routes.
- Check gutters, post drainage and door thresholds.
- Approve one combined drawing rather than separate uncoordinated sketches.
Can several accessories be combined?
Yes, subject to model, dimensions and project review. ZIP screens may be combined with lighting and heaters; glass may be used with lighting or privacy elements; fans require adequate clearance from roof movement and beams. The more systems share one structure, the earlier their interfaces should be frozen.
Common planning mistakes
- Requesting “screens on all sides” without opening dimensions.
- Adding glass after drainage and finished-floor levels are fixed.
- Forgetting where sliding or folding panels will stack.
- Assuming every accessory fits every pergola model automatically.
- Combining fan, heater and light circuits without an electrical schedule.
- Leaving control locations and voltage until production is underway.
Accessory RFQ checklist
Send the pergola model, module drawing, each opening's width and height, accessory type by side, finish, quantity, voltage, control preference, destination and site photos. If glass or screens meet a finished floor, include threshold and drainage information.
Accessory availability depends on pergola model, opening size, structure, electrical supply and local project conditions. Final compatibility is confirmed through the project drawing and quotation.
Technical review: JY Home Shade factory product team · Last reviewed: 28 August 2026
Mark accessories directly on your plan
Send opening dimensions and label each side with the screen, glass, grille, light, fan or heater required.